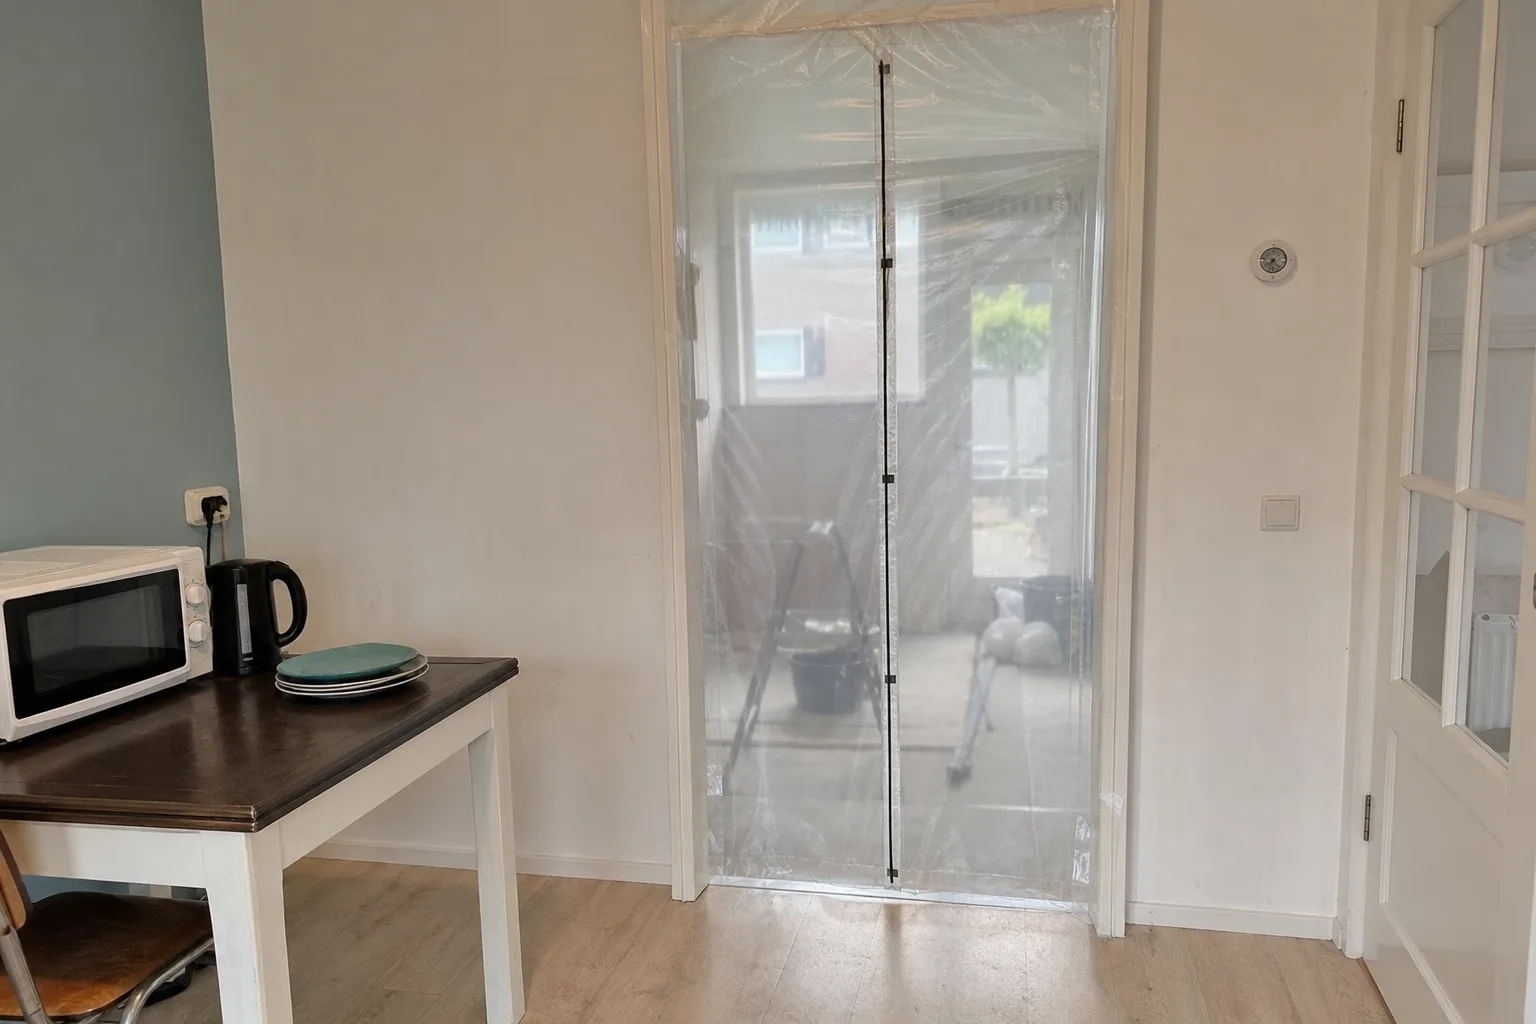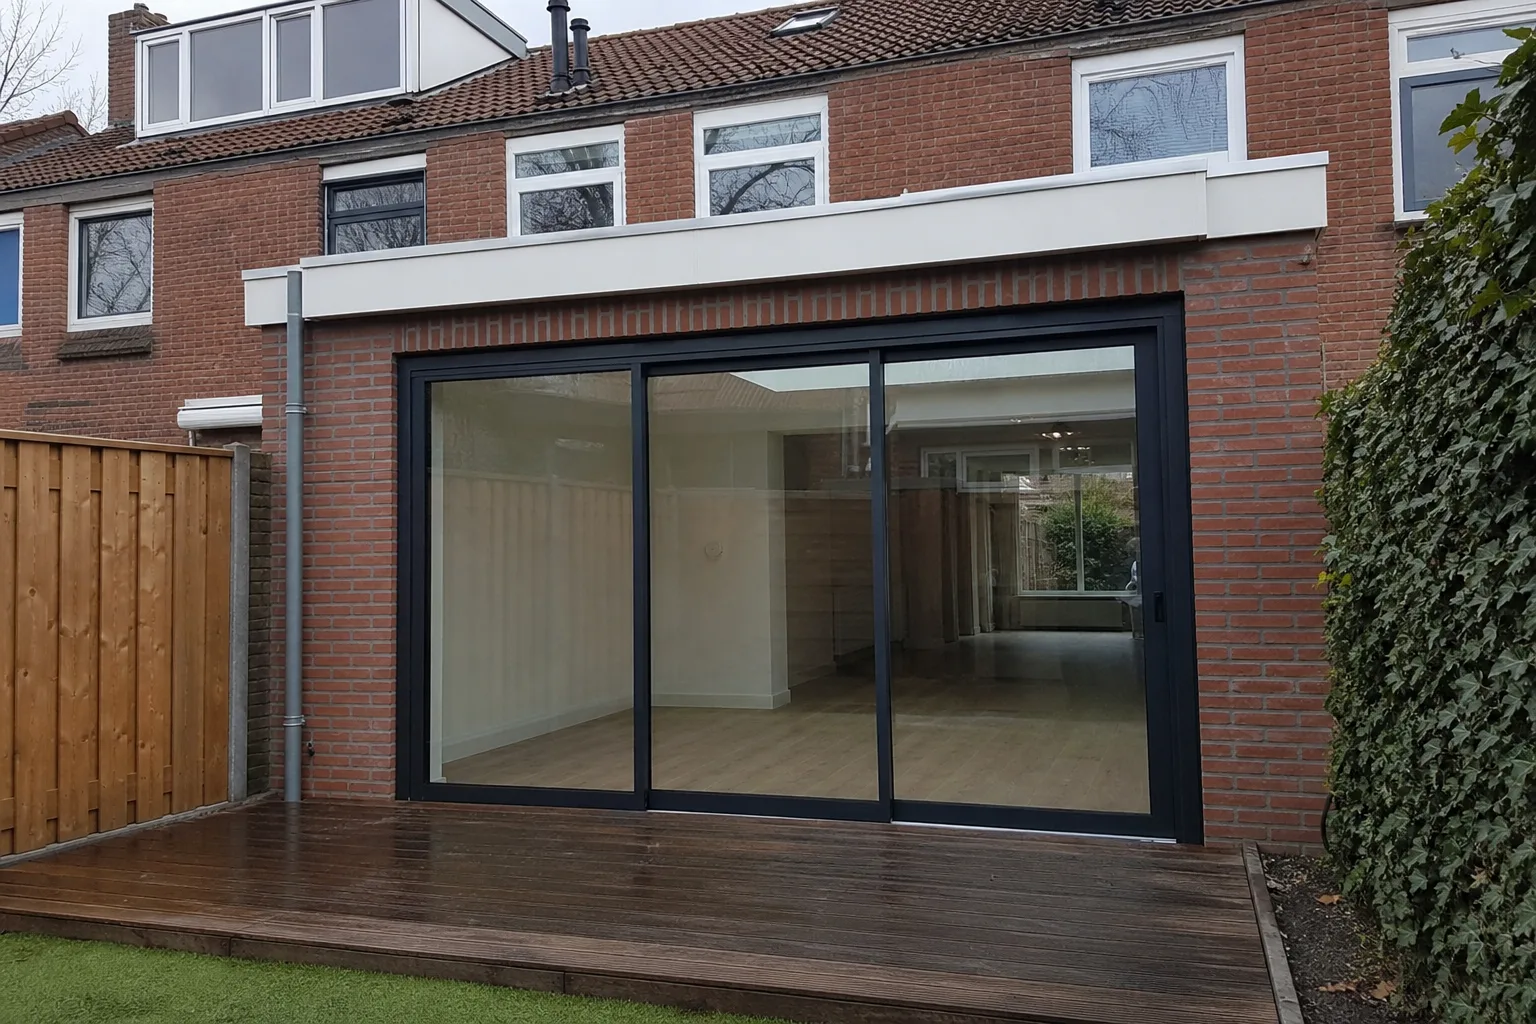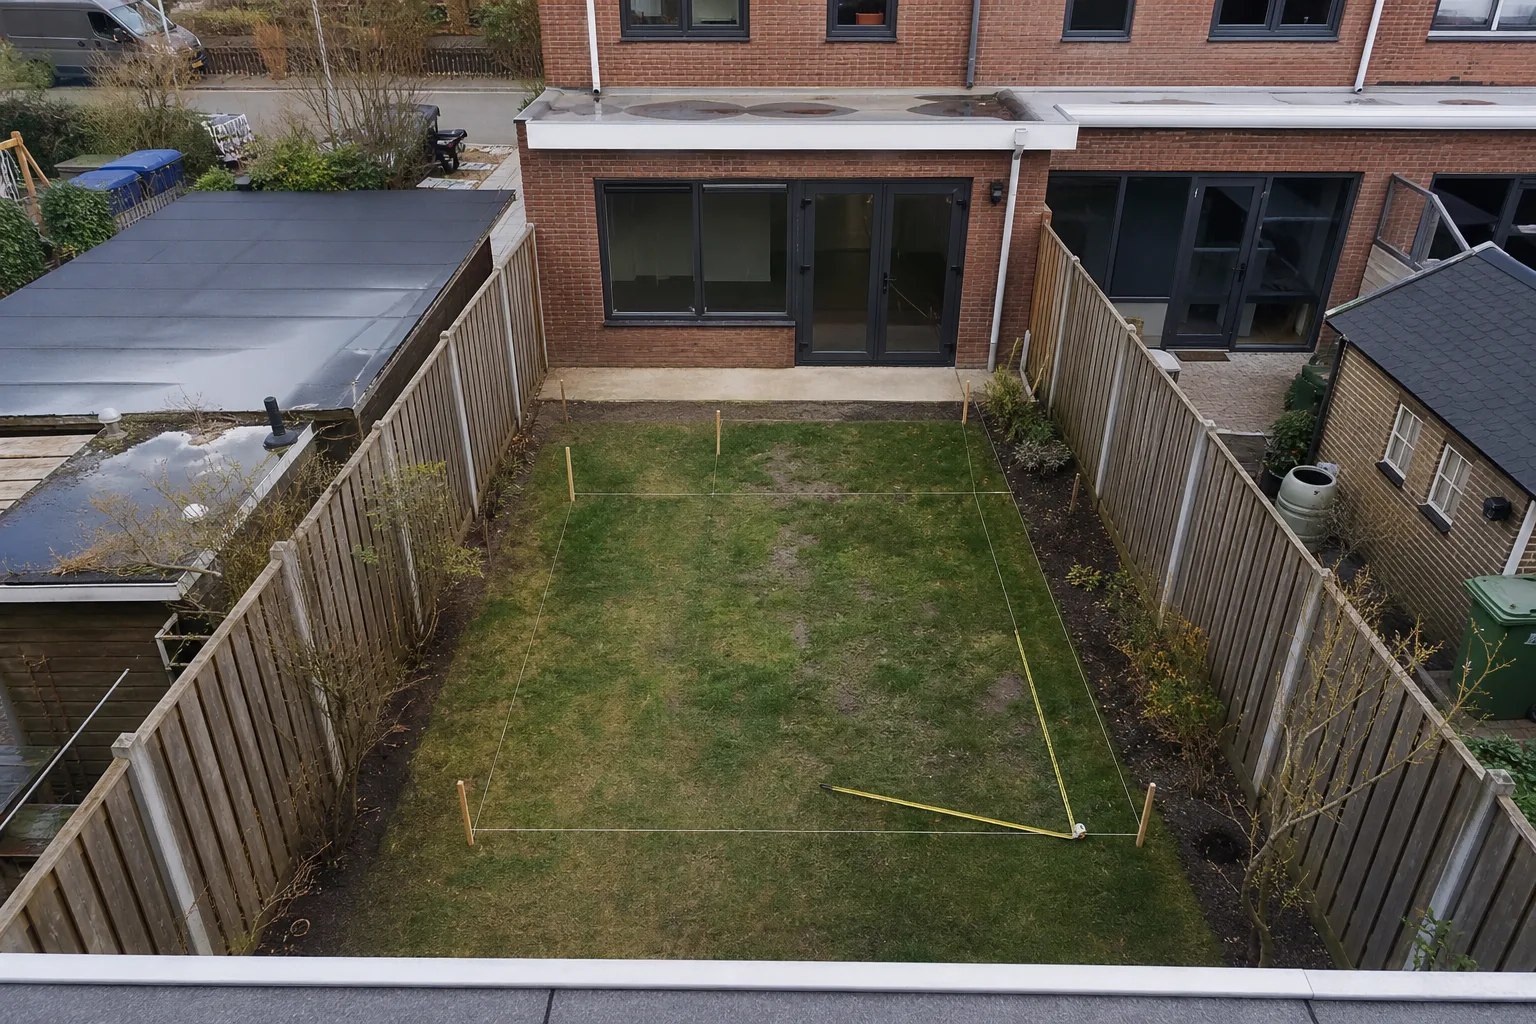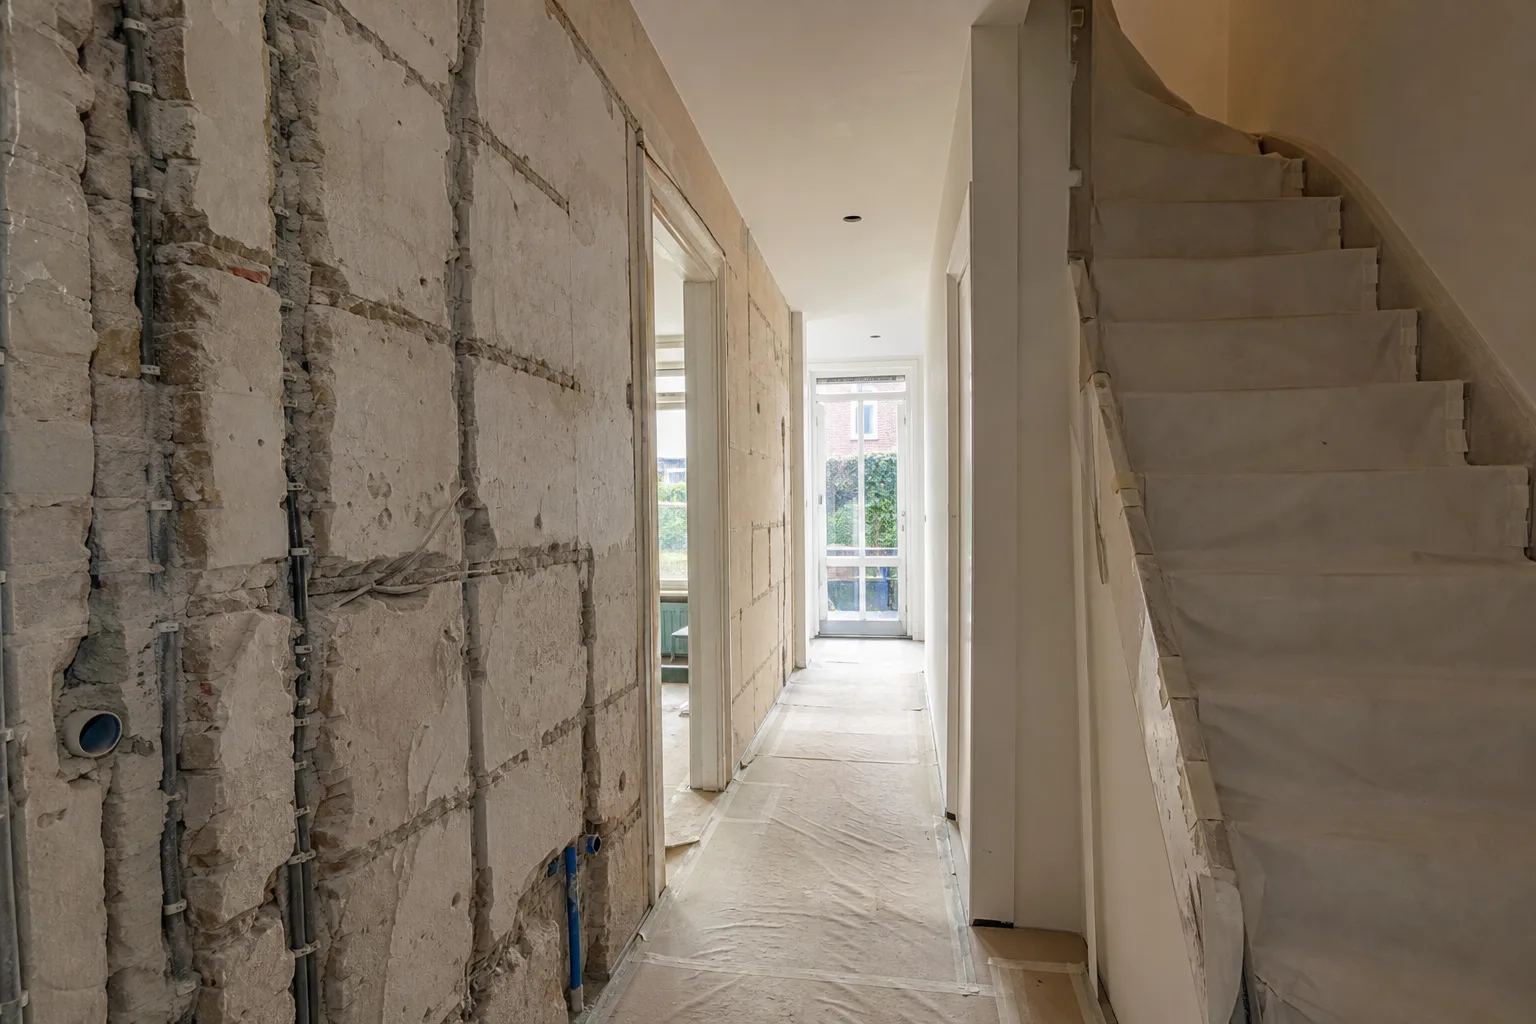
- The fixed line: rough before fine, inside the wall before its surface, wet before dry, top before bottom.
- First strip-out and asbestos, then structure, then pipes and wiring, then insulation.
- Plastering and tiling come before the floor, painting comes last.
- Drying times for plaster and screed are part of the schedule, not extra to it.
- A check before anything is closed up prevents breaking things open later.
The four rules behind the order
Four simple rules explain almost every schedule. Rough before fine: demolition, sawing and chasing create dust and damage, so they come first. Inside the wall before its surface: pipes and cables go into the wall before it is closed and plastered. Wet before dry: plaster, screed and tiling bring moisture into the house, and it has to be gone before timber, parquet and paint go on. Top before bottom: do the ceiling first and you will not splash a new wall.
On top of that, a good schedule works floor by floor or zone by zone. One trade can work in the bathroom while another is busy in the bedroom, without getting in each other's way.
Steps 1 and 2: strip-out and structure
It all starts with clearing and stripping out. In a house built before 1994 an asbestos survey comes first, because IPLO, the government's information point, says asbestos is then presumed to be present. After the strip-out you see the real condition of the house, and that is the moment to repair rotten joists, cracks or damp patches.
Next comes the structural work: a load-bearing wall coming out, a new beam, a floor being strengthened, an extension going on. This happens before any services go in, because otherwise the pipes would have to be redone. See removing a load-bearing wall.
Step 3: walls, pipes and wiring
New walls go up as studwork or masonry, still open. Then the services go in: water, drainage, heating pipes, underfloor heating and electrical cables. The fuse box is replaced or extended at this stage too. We do the electrical work and plumbing ourselves, so it fits the schedule.
The end of this step is the most important check of the whole renovation. Have the pipes been pressure-tested? Do the drains have the right fall? Are the boxes for switches and sockets at the right height? Whatever is closed up now can only be reached later by breaking it open.
Tip from the trade: Photograph every wall and floor with the pipes in place, with a tape measure in the shot. When you hang a picture or fix a cupboard later, you will know where not to drill.
Step 4: insulation and closing up
With everything open, this is the best time to insulate. Inner walls get an insulated stud wall, the attic is insulated from inside, and where needed a vapour control layer goes on the warm side. See our insulation page for the build-up. Then walls and ceilings are closed with plasterboard or other boards.
Do not forget ventilation. A better insulated house becomes more airtight and then needs good fresh air. Trickle vents or mechanical ventilation belong in the plan, not in a later job. Milieu Centraal, the Dutch independent consumer information body on energy, explains why a home needs fresh air all the time. Ducts for mechanical ventilation often run through ceilings and walls, so they must go in before everything is closed up.
Met dit bedrijf werk ik niet voor het eerst samen. Ze hebben voor mij verschillende werkzaamheden uitgevoerd, zoals het vervangen en maken van deuren, het realiseren van een aanbouw en het uitvoeren van binnenrenovaties. De jongens zijn zeer verantwoordelijk, en vooral Stanislav geeft altijd goede adviezen.
Step 5: plastering, screed and tiling
Now comes the wet work. Walls and ceilings are plastered, the screed or levelling layer goes down, and in the bathroom the waterproofing and the tiles or microcement go on. This work brings a lot of moisture into the house. It has to dry before timber, parquet or paint can go on or next to it.
Plastering comes before tiling in the same room, so the tiler works against a flat, dry wall. Screed comes before the final floor, and a moisture reading decides when that may go down. On a base that is too wet, parquet moves and vinyl lifts.
| Step | Work | Why it sits here |
|---|---|---|
| 1 | Strip-out and asbestos | Dust and damage first |
| 2 | Structure | Decides where pipes can run |
| 3 | Walls, pipes, wiring | Must be in the wall before it closes |
| 4 | Insulation and closing up | Only possible while everything is open |
| 5 | Plaster, screed, tiling | Wet work, has to dry |
| 6 | Kitchen, sanitaryware, floor | On a dry, flat base |
| 7 | Doors, skirting, painting | Final layer, no more dust |
Steps 6 and 7: kitchen, floor and painting
Once the wet work is dry, the kitchen and sanitaryware go in. Then comes the final floor: parquet, vinyl, laminate or tiles. Some floors we lay before the kitchen, others after, depending on the type of floor and kitchen. We agree that in advance. See our flooring page for more.
Last come internal doors, skirting, trims and painting. Painting only starts when no more dust is being made. That keeps grit out of the paint and plaster dust off the floor. Our approach is explained in interior and exterior painting.
Common mistakes
Most renovation problems are not caused by poor workmanship but by the wrong order, or by rushing. We see a few examples again and again when we take over or repair a job.
The cause is almost always the same: someone wants to see results quickly. A room that has already been painted feels like progress. But if demolition then goes on next door, the dust spreads through the whole house. It is better to see little visible change for a few weeks, and then finish everything properly in one go.
- Laying a new floor and then plastering or demolishing in the same room.
- Tiling before the pipes have been pressure-tested.
- Painting or laying parquet on plaster or screed that is still wet.
- Deciding where the sockets go only after the plastering.
- Ordering sanitaryware once the tiling is finished, when the fitting dimensions do not match.
One schedule, one point of contact
The order is simple on paper, but in a real house the trades overlap. At Parus Construction one team handles demolition, plastering, tiling, flooring, insulation, electrics and plumbing. Stas, the owner, keeps the order and is your single point of contact. You do not have to coordinate five separate firms yourself.
For an overview of the phases, read our guide to a full renovation, step by step. Get in touch for a free, no-obligation survey. We reply within 24 hours.
Frequently asked questions
Which comes first, the floor or the kitchen?
It depends on the floor. A tiled or poured floor often goes first, a floating floor sometimes after. We agree it in advance so the dimensions work.
Why does it take so long before the floor can go in?
Because plaster and screed bring a lot of moisture into the house. A moisture reading decides when the final floor may go down.
Can I do the painting myself to save money?
You can, as long as you do it last and prepare the surface well. Plan it after the rest of the work has been handed over.
Should I always renew the wiring in a renovation?
Not always, but with the walls open it is the right time. With an old fuse box or unearthed cables we usually recommend it.
What does a renovation in this order cost?
It depends on the scope and the finish. After a survey you get a free quote with the steps written out.
Renovation and finishing work from Roelofarendsveen: plastering, bathrooms, microcement, extensions, insulation, floors, electrics and plumbing. One point of contact from quote to completion. Questions? Call or WhatsApp +31 6 87 61 60 78.
Sources
- Asbestos survey obligation (IPLO, Dutch)
- Ventilating your home (Milieu Centraal, Dutch)
- Permit check (Omgevingsloket, Dutch)
Rules change. Always check your own address with the Permit Check (Vergunningcheck) in the Omgevingsloket or with your municipality.