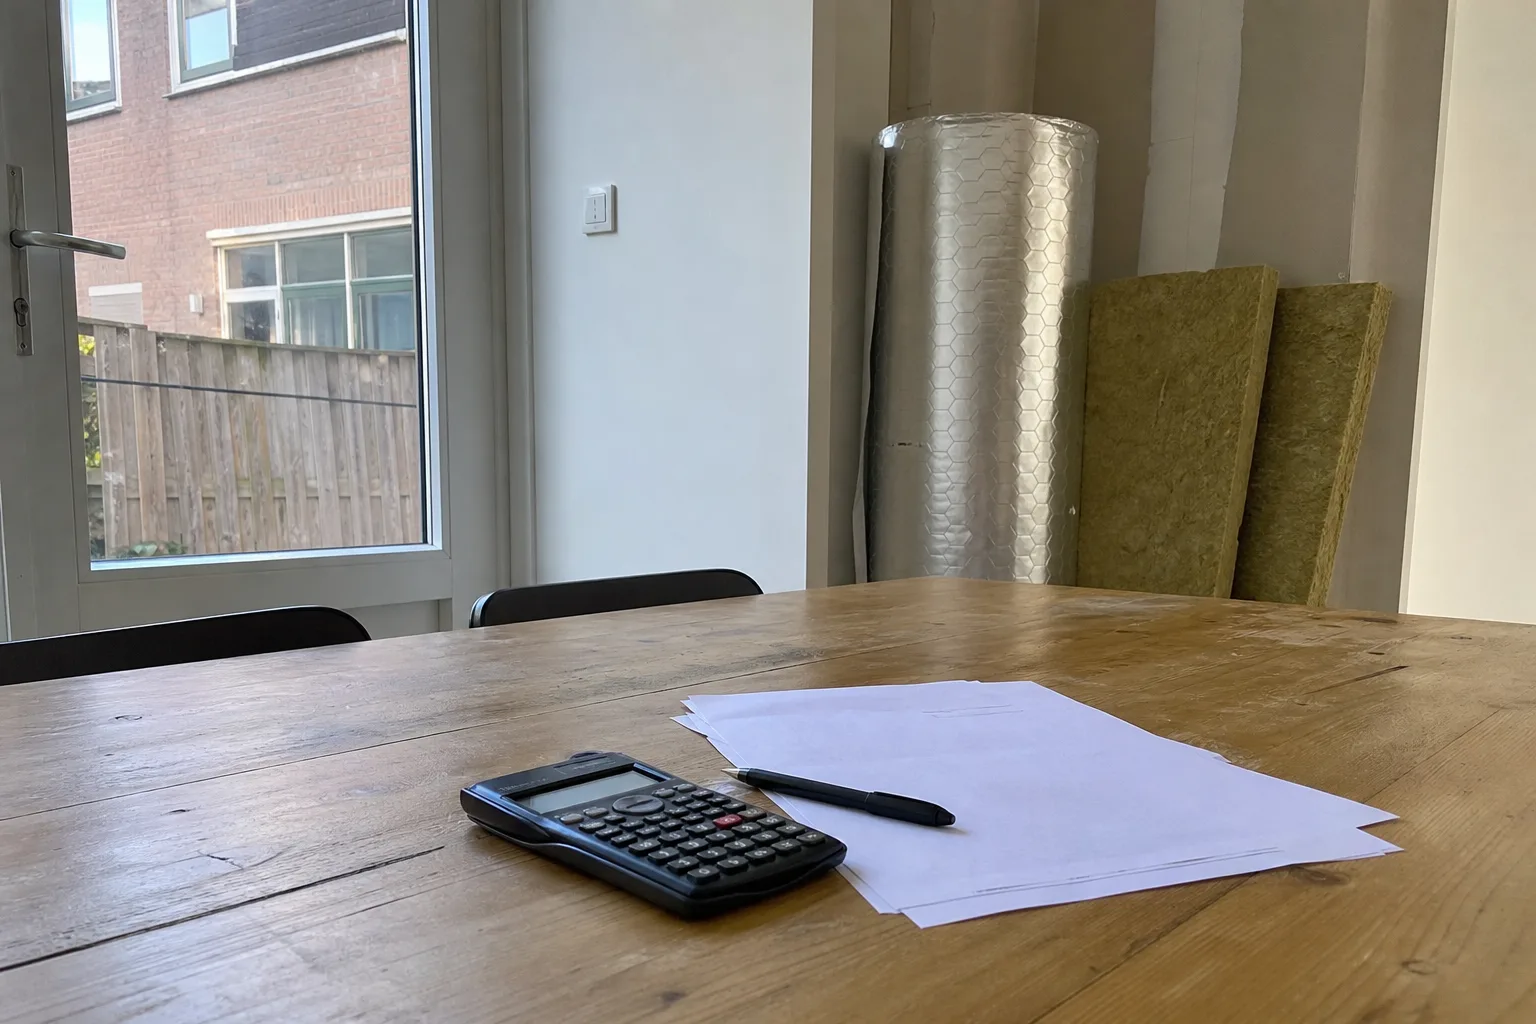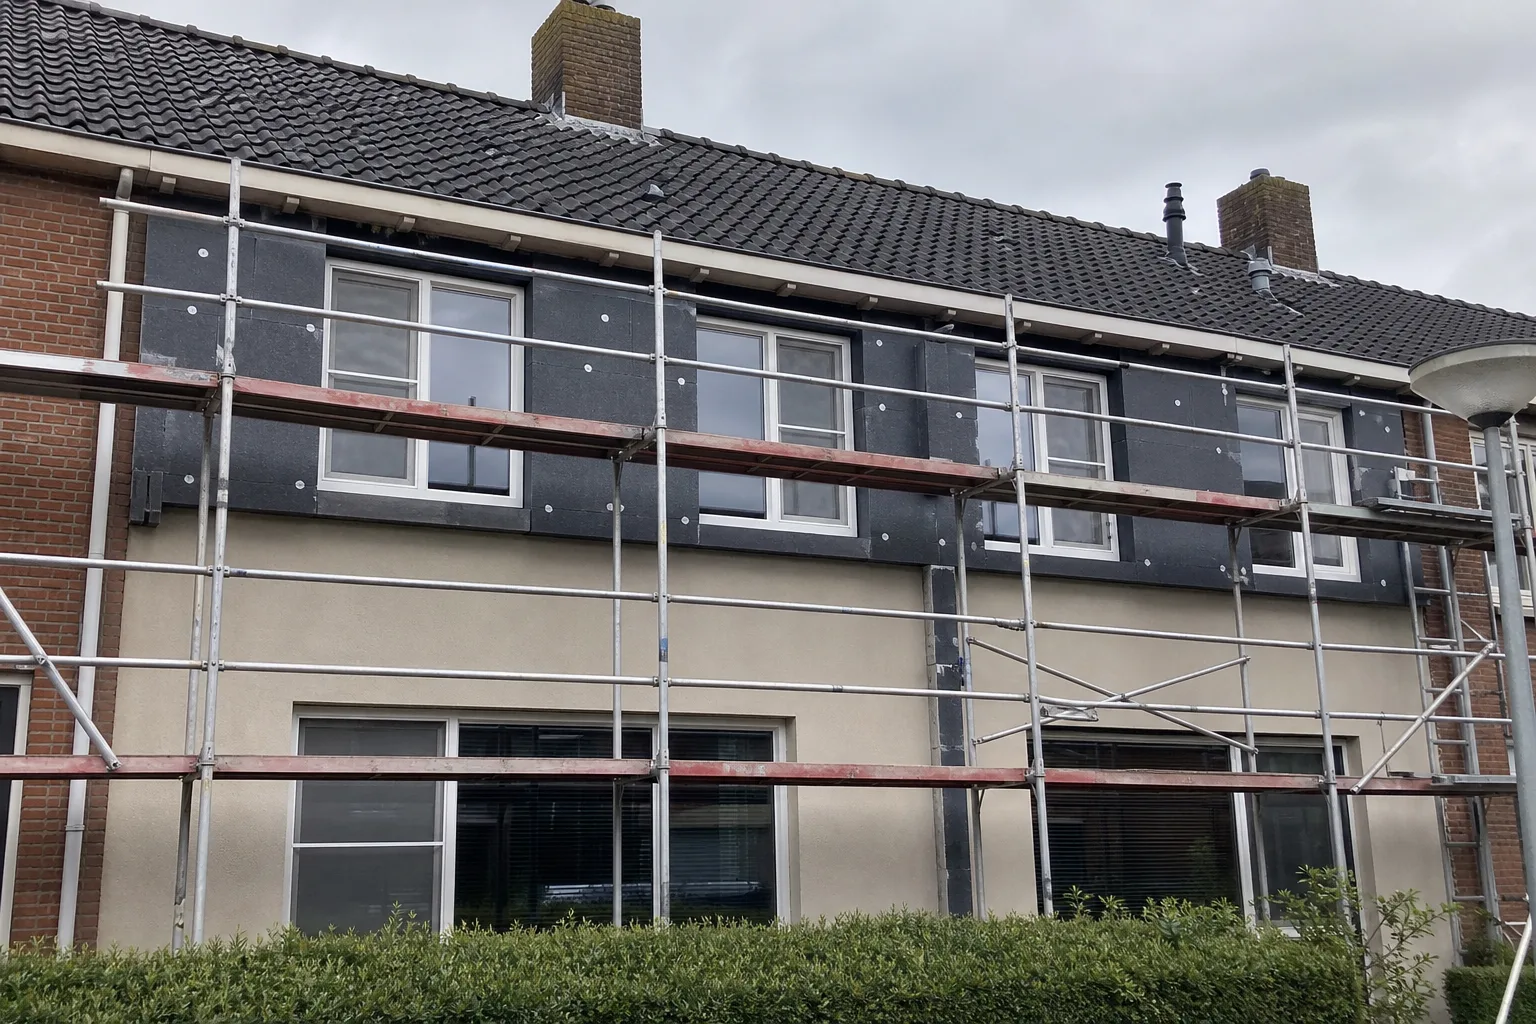
Many older homes in Amsterdam, Leiden and The Hague have solid brick walls or a narrow cavity, and they feel cold all winter. One fix is a voorzetwand: a new insulated stud wall built a few centimetres in front of the existing external wall. You insulate from the inside, with no scaffolding and no change to the facade. It works well, but only if the build-up is right. Get it wrong and the cold spot moves to the old wall behind, where damp collects out of sight. This guide explains how we build one, how much space you give up and what to check first.
- A stud wall is a frame, insulation, a vapour control layer on the room side and plasterboard, finished with plaster.
- Expect to lose 10 to 15 cm of floor space per wall, depending on insulation thickness and finish.
- Milieu Centraal, the Dutch independent energy advice body, aims for an Rd value of 3.5; that is also the minimum for the ISDE grant.
- Any existing damp in the wall has to be solved before anything goes in front of it.
- Joist ends, window frames and sockets are where most problems start.
What a stud wall is and when it makes sense
Dutch homes built before roughly 1920 often have solid walls with no cavity at all. Later homes may have a cavity that is too narrow or too dirty to fill. Either way, the inside of the wall stays cold in winter. Sitting with your back to it feels like a draught, even when the windows are shut.
A stud wall solves this from the inside. Nobody touches the facade, there is no scaffolding and you can do one room at a time. That makes it a sensible choice in a city flat where the outside wall belongs to the owners' association (VvE), in a street where the facade cannot change, or during a renovation that is already happening indoors.
If you do have an empty cavity of decent width, cavity wall insulation is usually simpler. If the outside of the wall can be changed, read our guide to external wall insulation. When we visit, we look at your wall and tell you which route fits.
The build-up, layer by layer
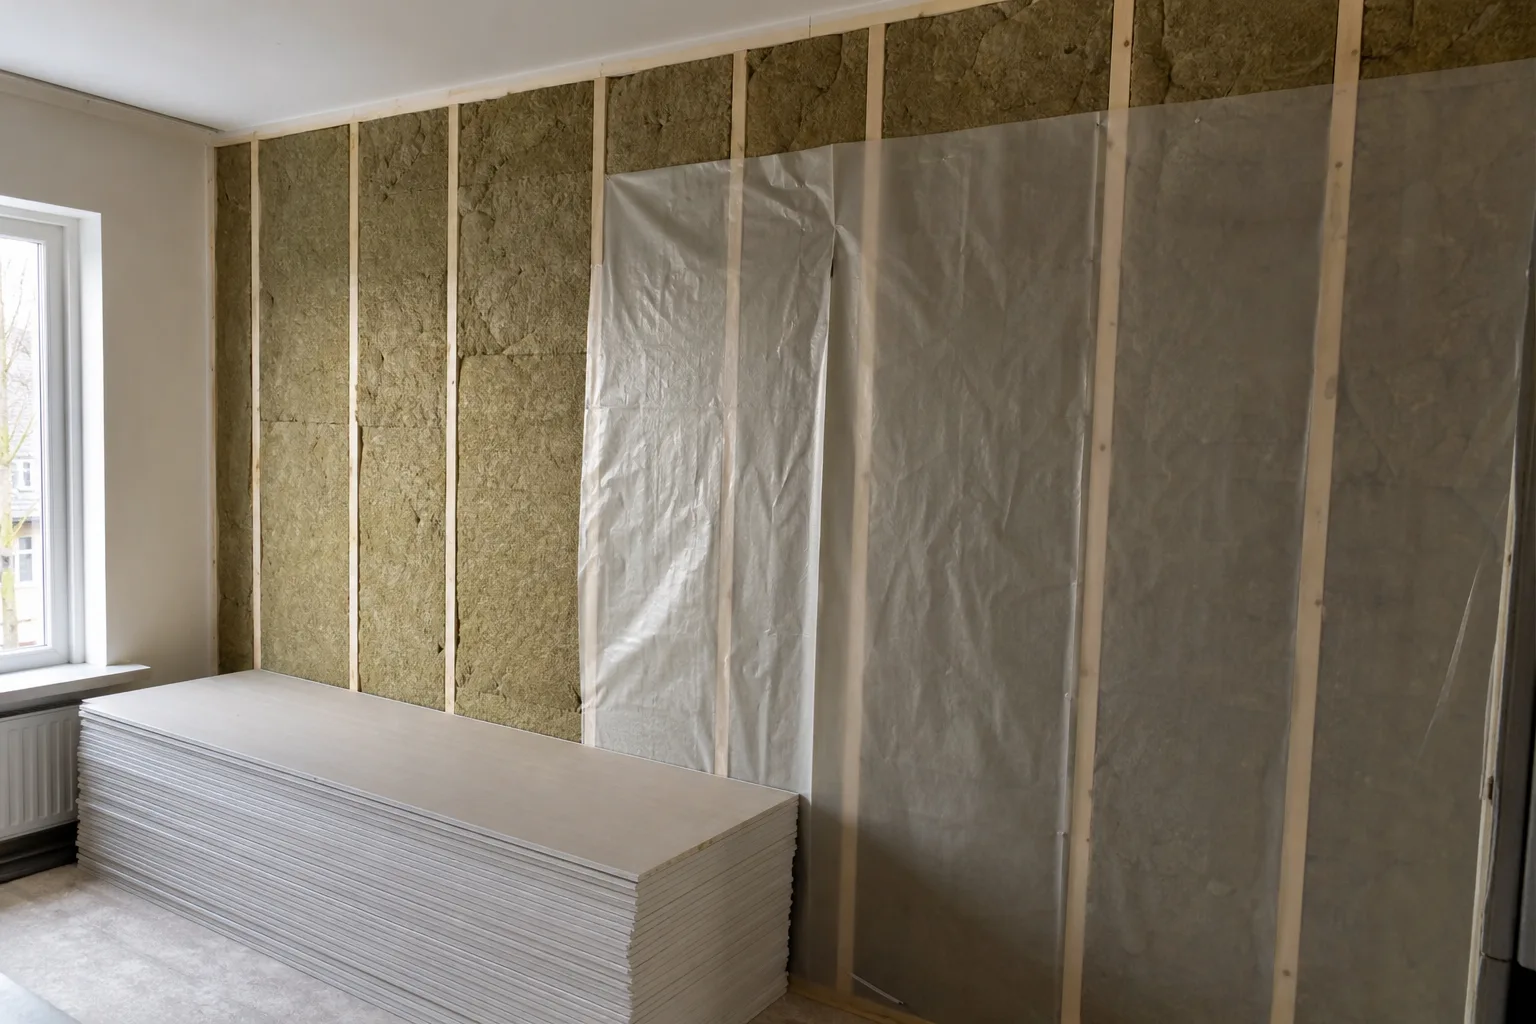
A stud wall is more than a board with insulation behind it. Every layer has a job and the order is fixed. We use a timber or metal frame. Such a frame stands just clear of the old wall or is fixed to it with spacers. Insulation, often mineral wool, fills the frame. A vapour control membrane goes on the room side, then plasterboard. Finally we plaster the wall so it is ready to paint.
- Existing wall: dry, clean, loose material removed.
- Timber or metal frame, set true between floor and ceiling.
- Insulation packed tightly between the studs, with no gaps.
- Vapour control layer on the warm side, every joint taped.
- Plasterboard, then a skim of plaster and paint.
Tip from the trade: Ask for photos of the open wall before the plasterboard goes on. You will need them for the grant application and for a new energy label.
How much space you lose
According to Milieu Centraal a stud wall takes 10 to 15 cm off the room. The exact figure depends on the insulation, the frame and the finish. In a five metre wide living room you will hardly notice. In a narrow hallway or a small bedroom you will.
If space is tight, a thinner material with a higher insulation value per centimetre helps. It costs more per square metre but gives you room back. A thinner wall with a slightly lower Rd value is still worth having: every centimetre makes the inner surface warmer.
Think about what is on the wall now. Window sills get deeper, skirting boards move and a radiator has to come forward. These are small jobs, but they belong in the plan.
| Situation | What it means |
|---|---|
| Large living room | Space loss is small compared with the comfort gain |
| Narrow hall or stairwell | Consider thinner material or leave this wall out |
| Wall with a radiator | Radiator and pipes move forward with the wall |
| Wall with a deep window sill | A new or extended sill is needed |
Snel en kwalitatief hoogstaand werk. 3 kamers opgeleverd in 3 dagen. Gestuukte wanden en plafond. Nu zijn de kamers onherkenbaar. Zulke gladde muren waren hier nooit. Ik adviseer iedereen Parus Construction. Ook de prijzen zullen u verrassen.
Damp and the vapour control layer
This is where a stud wall succeeds or fails. Once you insulate on the inside, the old wall behind gets colder. Warm, moist air from the room that reaches that cold wall turns into water. You will not see it, but after a few years there can be mould behind the board or rot in timber.
That is why the vapour control layer goes on the warm side, facing the room. It must be airtight: overlaps taped, edges sealed to floor, ceiling and window frame. Every hole for a socket is a possible leak. In one of our projects you can see a red vapour membrane running on across the ceiling, precisely to close that joint.
If the wall already has damp patches, salt on the plaster or a leaking gutter above, that must be fixed first. A stud wall over a wet wall just locks the problem in. Our guide to damp and condensation after insulating goes into more detail.
Where it usually goes wrong
Most problems do not start in the middle of the wall but at the edges. Milieu Centraal names timber joists that rest in the external wall as a known risk: after insulating, the joist end gets colder, moisture condenses there and the wood can rot. With a timber upper floor resting on the outside wall, the joist ends need checking before anything else.
Window frames, the junction with an internal wall and pipe runs are other weak spots. The insulation stops there and a narrow cold strip remains, known as a thermal bridge. Run the insulation as far as possible and seal the vapour layer to the frame.
- Joist ends of a timber floor sitting in the external wall.
- The joint with window frames and sills.
- Corners with an internal wall or another external wall.
- Sockets, switches and pipe or cable entries.
- A cavity wall that is already insulated: adding inside insulation can cause damp.
Electrics, pipes and finish in one go
A new stud wall is the right moment to add sockets, hide a cable or move a radiator. Cables for the electrician go inside the frame before the membrane is closed, with airtight back boxes so the vapour layer is broken as little as possible. If a radiator needs to move, our plumber handles it as part of the same job.
Once the plasterboard is up we plaster the wall, so you get a smooth, paint-ready surface rather than visible board joints. If the rest of the room needs work too, plastering on the other walls follows straight on.
Grants and next steps
Insulating an external wall from the inside counts as facade insulation under the ISDE, the national energy saving grant. According to RVO, the Netherlands Enterprise Agency, the conditions include an Rd value of at least 3.5, at least 10 m² and installation by a company. Internal and party walls do not count. Our ISDE grant guide for 2026 sets out the details.
Want to know whether a stud wall suits your home? Stas, the owner, visits, looks at the wall, the joist ends and the junctions, and you get a free quote with no obligation. The price depends on the area, the chosen thickness, the number of windows and what electrics and heating need to move. Get in touch or read more about our insulation work.
Frequently asked questions
Can I have a stud wall built in a flat?
Usually yes, because the wall stands inside your own home. In a building with an owners' association (VvE) the facade is shared, but an inside wall does not touch it. Check the deed of division and tell the board if in doubt.
How long does it take?
One living room wall is often done in a few days, plaster included. Allow drying time for the plaster before you paint. You get a schedule for your home after our visit.
Does the wall need to be cleared?
Yes. Furniture, pictures and curtain rails come off. We cover the floor, but the wall and about a metre in front of it need to be free.
Will the room really feel warmer?
The inner surface of the wall gets warmer, so it no longer feels cold when you sit next to it. Most people notice that more than the lower energy bill.
Can I build it myself and still get the grant?
No. RVO requires the insulation work to be carried out by a company. DIY insulation is not eligible for the ISDE.
Renovation and finishing work from Roelofarendsveen: plastering, bathrooms, microcement, extensions, insulation, floors, electrics and plumbing. One point of contact from quote to completion. Questions? Call or WhatsApp +31 6 87 61 60 78.
Sources
- Insulating an external wall with a stud wall (Milieu Centraal, Dutch)
- ISDE insulation measures for homeowners (RVO, Dutch)
Rules change. Always check your own address with the Permit Check (Vergunningcheck) in the Omgevingsloket or with your municipality.