A bathroom renovation always follows the same order. First you survey and measure, then you design and order, then the old room is stripped out, pipes and wiring go in, walls and floor are built up, the wet areas are waterproofed, the tiles go on and the fittings come last. Skip a step or swap two around and you end up breaking open new tiles. Below you will find what happens at each stage, what to look out for yourself and which Dutch rules apply.
- The order is fixed: survey, design, strip-out, plumbing and wiring, walls and floor, waterproofing, tiles, fittings, handover.
- Every step has a check before the next layer covers it up.
- In an existing Dutch home, bathroom walls up to 1 m and the whole floor must be water-repellent (Building Decree, Bbl, article 3.65). In the shower, going higher is sensible.
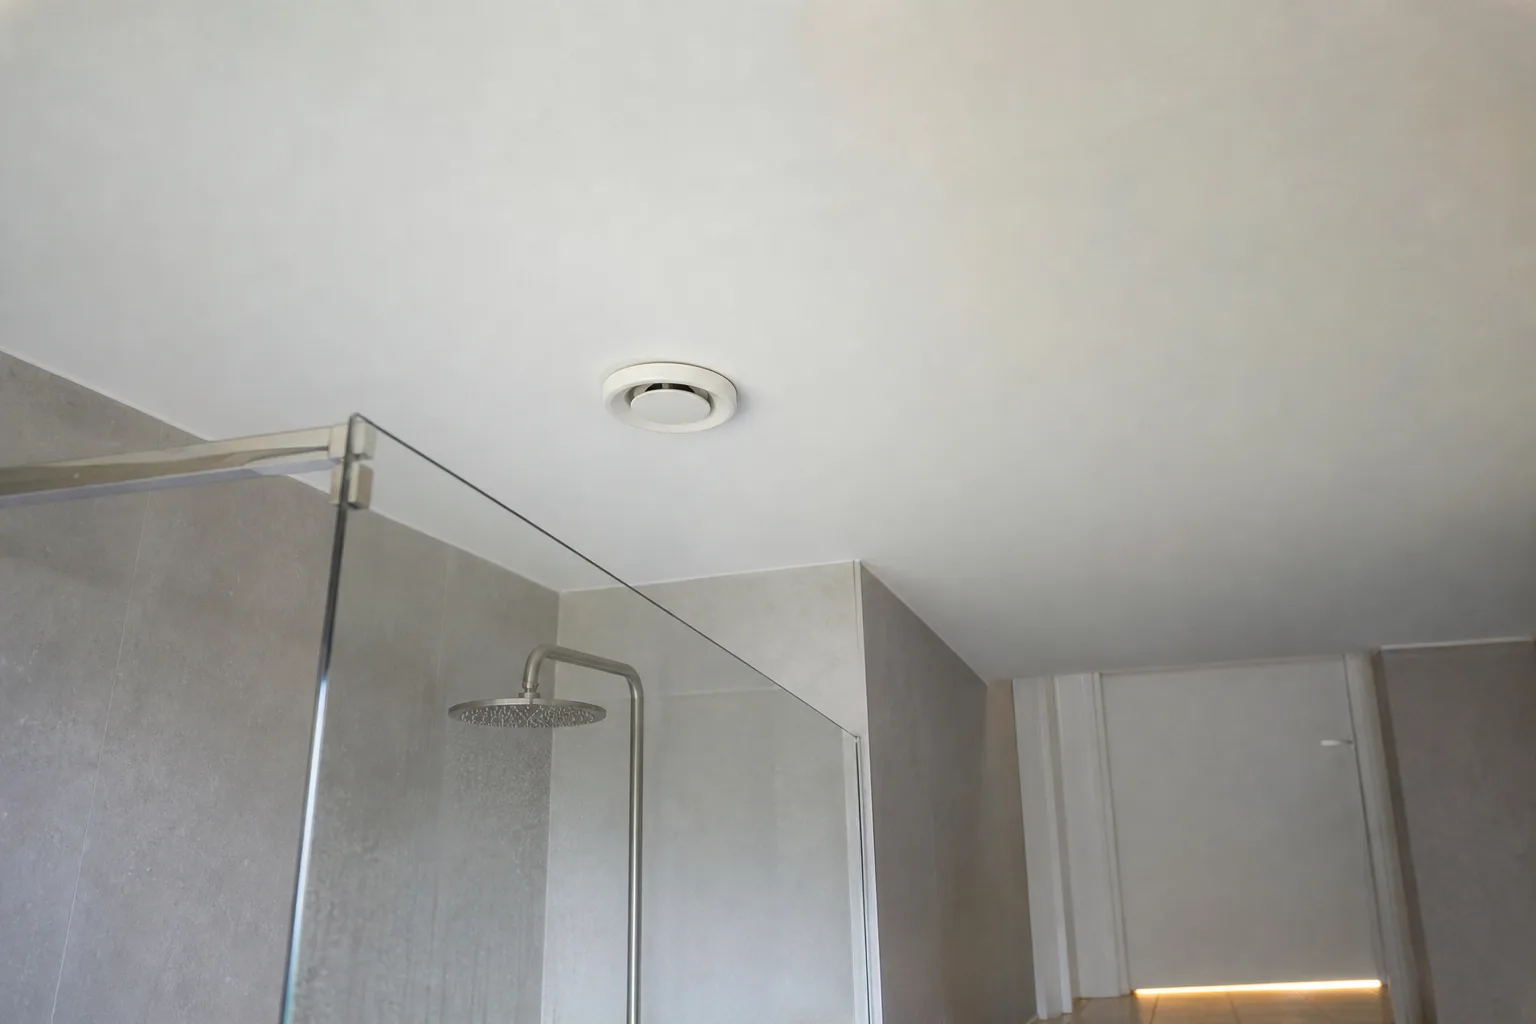
- A bathroom must have an extraction capacity of at least 14 dm³/s.
- Drying times for screed, plaster and waterproofing shape the schedule.
Step 1: survey and measuring
Every bathroom starts with a visit to your home. At Parus, Stas does this himself. We check where the waste pipe is and how it runs, how the water and heating pipes are routed, and how the floor is built. A timber joist floor needs a different approach from a concrete one, and many older Randstad homes have timber floors upstairs.
We also look at what you cannot see. A hollow-sounding tile means the adhesive has let go. A brown stain on the ceiling below means the old shower has leaked. And if the property was built before 1994, it is wise to allow for asbestos in old sealant, vinyl flooring or boards behind a bath.
- Position, diameter and fall of the waste pipe.
- Condition of water and heating pipes and where the boiler or heat pump sits.
- Build-up and flatness of the floor.
- Existing extraction and where it vents outside.
- Electrics: circuits, residual current device and sockets.
Step 2: design, choices and ordering
With the measurements we fix the layout. Where does the shower go, where the toilet, where the basin? The waste pipe decides a lot here. Moving a toilet far from the main soil stack is possible, but the waste then needs a steady fall through the floor or wall. If you want a walk-in shower, you decide now between a linear drain and a square drain, because the floor is built around it.
This is also when you choose sanitary ware, taps and tiles. That feels early, but the depth of a wall-hung toilet frame or a concealed mixer decides how thick the false wall becomes. Advice on tiles is in choosing wall and floor tiles.
Indoors, a bathroom usually does not need a permit, but not always. A listed building or work on the structure can change that. If in doubt, use the permit check in the national Omgevingsloket (Environment and Planning Portal). Living in an apartment? Also read renovating a bathroom in an owners' association apartment.
Tip from the trade: Order anything with a long lead time, such as a linear drain, a concealed mixer or made-to-measure glass, at this stage. A part that arrives after the tiling halts the job.
Step 3: strip-out and removal
During strip-out the old bathroom goes: tiles, fittings, sealant and often the old screed too. We take the waste away. According to IPLO, the government information point for the Dutch building rules, buildings from before 1994 are presumed to contain asbestos. If suspect material turns up, work at that spot should stop until it has been tested.
Strip-out is also when surprises appear. A rotten joist under the old shower, a leaking joint in the wall, a waste pipe without enough fall. We fix those first. Only then does anything new go in.
Step 4: plumbing, waste and wiring
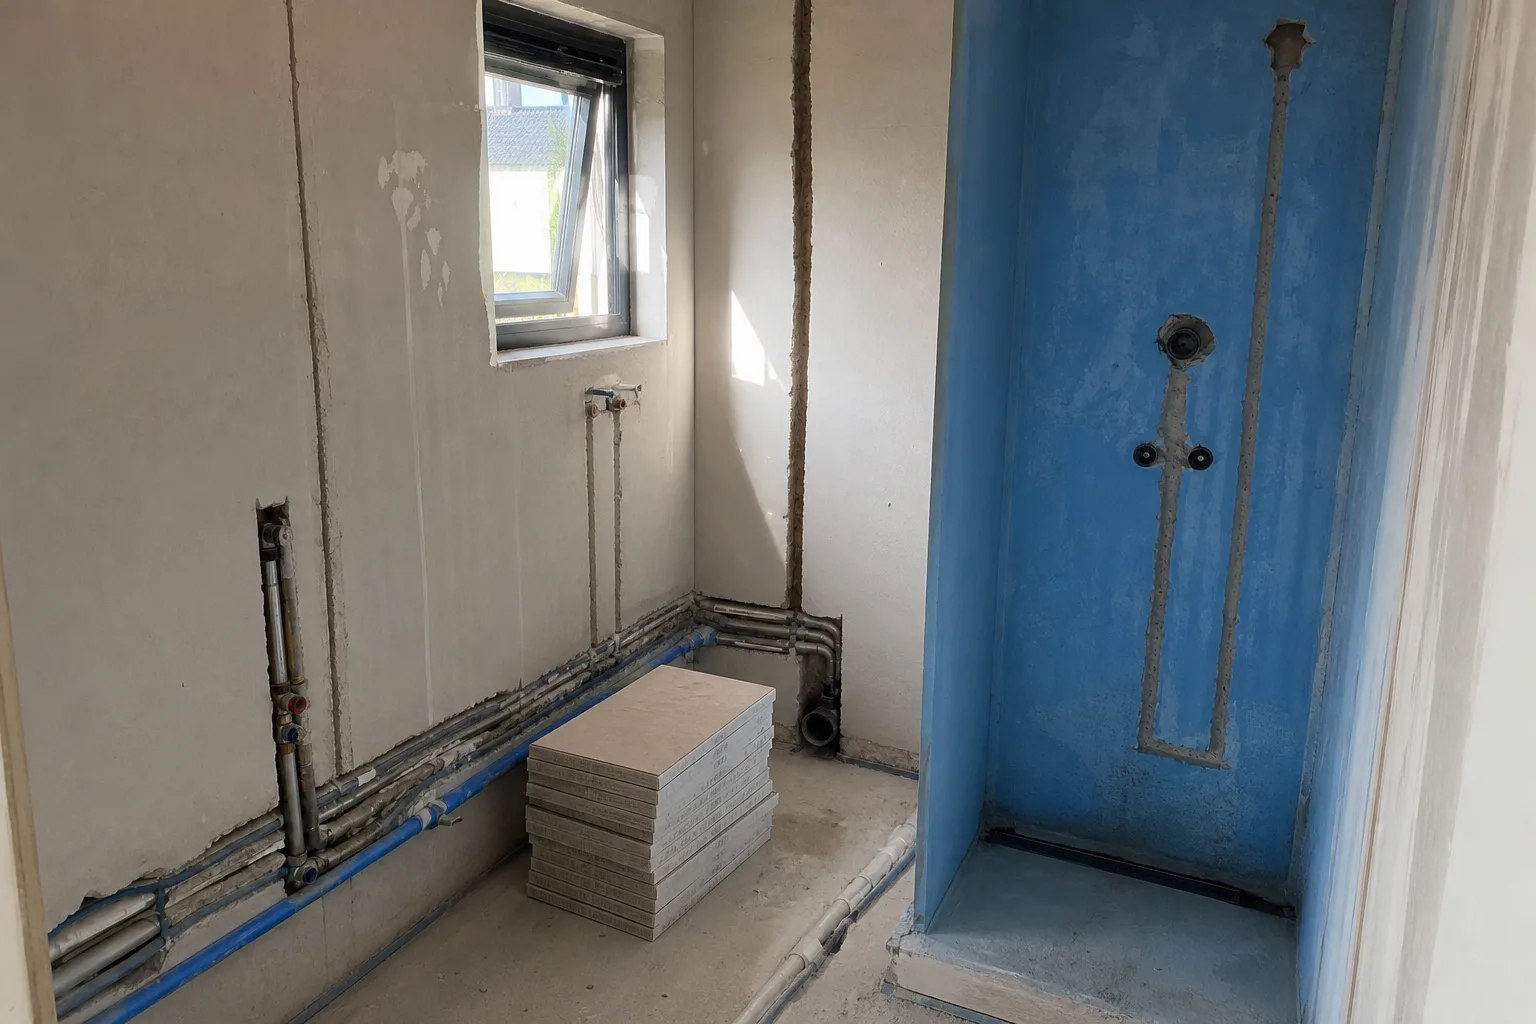
Now the plumber takes over. Waste pipes from shower, toilet and basin are laid with enough fall to the soil stack. Hot and cold water run to the new outlets. Dead legs, pipes that lead to an outlet that no longer exists, are removed, because standing water in a pipe is a legionella risk.
At the same time the electrician runs cables for lighting, a mirror light, an electric towel rail and the extractor fan. A bathroom has zones around the bath and shower where an ordinary socket is not allowed, and the circuit must be protected by a residual current device. After this step the water pipes should be pressure-tested. Only when that passes do the walls close.
Met dit bedrijf werk ik niet voor het eerst samen. Ze hebben voor mij verschillende werkzaamheden uitgevoerd, zoals het vervangen en maken van deuren, het realiseren van een aanbouw en het uitvoeren van binnenrenovaties. De jongens zijn zeer verantwoordelijk, en vooral Stanislav geeft altijd goede adviezen.
Step 5: walls, floor and false walls
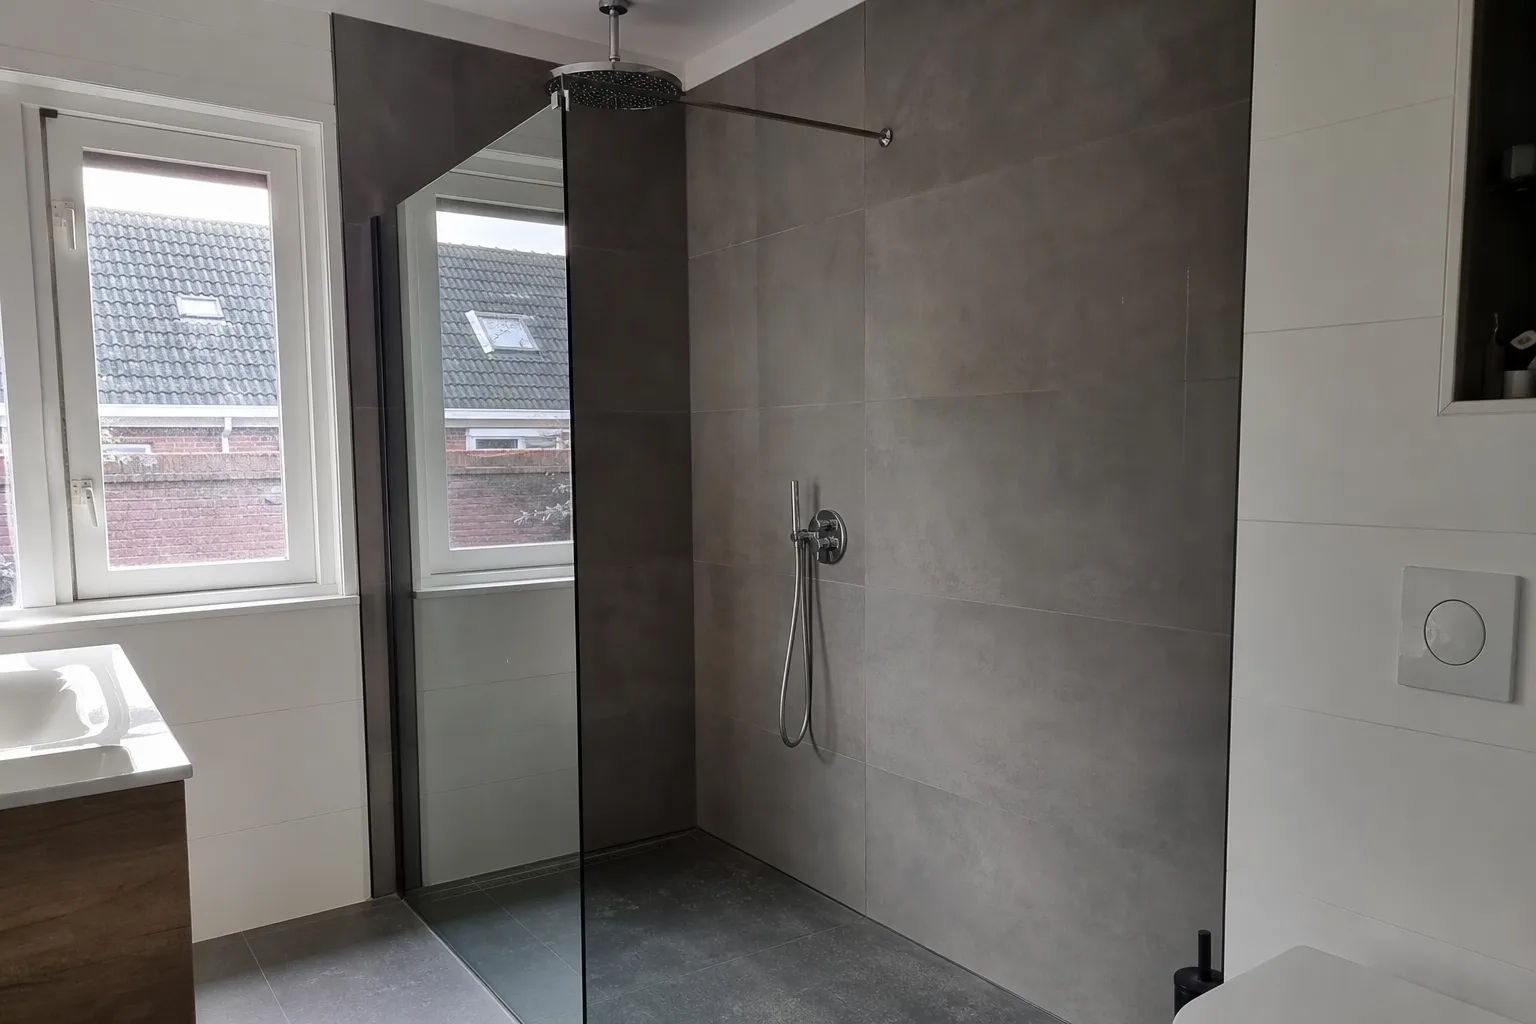
With the pipes in place we build the false wall for the concealed cistern and, if you want one, a niche in the shower. Walls are made flat with plaster or with moisture-resistant boards. The floor gets a screed or levelling compound, and for a walk-in shower it is laid to a fall towards the drain.
Drying time matters here. A cement screed has to be dry enough before waterproofing and tiles can go on. Rush it and you get loose tiles or cracked grout later.
Step 6: waterproofing
Under the tiles sits the layer that actually stops water. Tiles and grout are not waterproof. In the wet zones we apply a liquid membrane or a sheet membrane, with sealing tape in every corner and collars around pipe penetrations and the drain. The details are in waterproofing and sealing tape.
For an existing bathroom, the Dutch Building Decree requires walls up to 1 m high and the whole floor to be water-repellent. That is a minimum. In the shower the waterproofing should ideally run up past the shower head.
Step 7: tiling or microcement
Tiling starts once the waterproofing has cured. Depending on the design we begin with the floor or the wall, and we set out the tiles so no thin offcuts end up in view. Grouting follows, then the silicone joints in the corners and along the fittings. If you prefer a wall without grout lines, we finish it in microcement.
Step 8: fittings, extraction and handover
Last come the toilet, basin, taps, shower screen and extractor fan. Under the Building Decree a bathroom needs an extraction capacity of at least 14 dm³/s. More on that in bathroom ventilation.
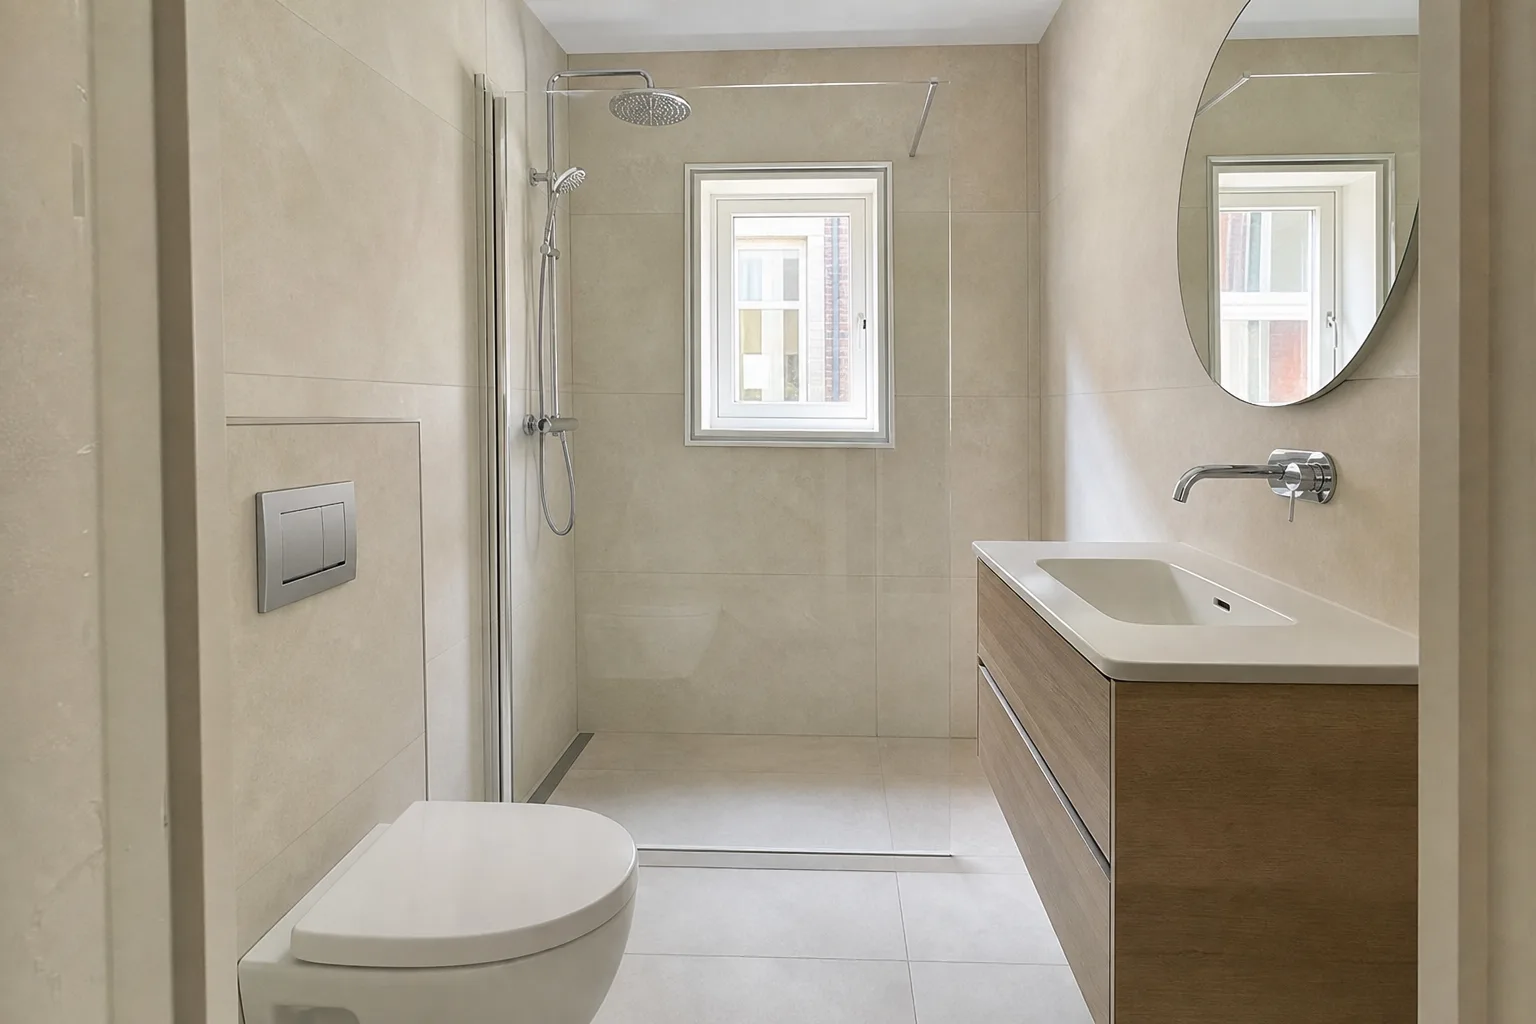
At handover we go through everything together. Do the taps run well, does the shower drain quickly, is there no leak under the basin, does the fan work? Then the bathroom is yours to use.
| Step | Check before the work is covered |
|---|---|
| Plumbing | Pressure test on the water pipes, fall on the waste |
| Electrics | Cables in the right place outside the zones, RCD protection |
| Screed | Fall towards the drain, dry enough |
| Waterproofing | Layer thickness, tape in every corner, collars around pipes |
| Tiling | Flatness, joint width, full adhesive coverage in the shower |
Frequently asked questions
How long does a bathroom renovation take?
It depends on the size, the floor and the drying times. A complete bathroom usually takes a few weeks. After the survey you get a schedule for each step. See our article on time and cost.
Can I use the bathroom during the work?
No. From strip-out to handover the bathroom is out of use. If you have a second toilet or shower we plan around it. If not, it is worth arranging something in advance.
Do I have to buy the tiles and fittings myself?
You can, but you do not have to. We advise on tiles, sanitary ware and taps and check the sizes before anything is ordered.
Do I need a permit for a new bathroom?
Indoors it is often not needed, but a listed building or structural work can change that. If in doubt, use the permit check in the Omgevingsloket. We do not give permit advice.
Who is my point of contact?
Stas, the owner of Parus. He does the survey, writes the quote and stays your contact throughout the job.
Renovation and finishing work from Roelofarendsveen: plastering, bathrooms, microcement, extensions, insulation, floors, electrics and plumbing. One point of contact from quote to completion. Questions? Call or WhatsApp +31 6 87 61 60 78.
Sources
- Asbestos inventory obligation (IPLO, Dutch)
- Moisture protection in existing buildings (IPLO, Dutch)
- Ventilation in existing buildings (IPLO, Dutch)
- Permit check (Omgevingsloket)
Rules change. Always check your own address with the Permit Check (Vergunningcheck) in the Omgevingsloket or with your municipality.