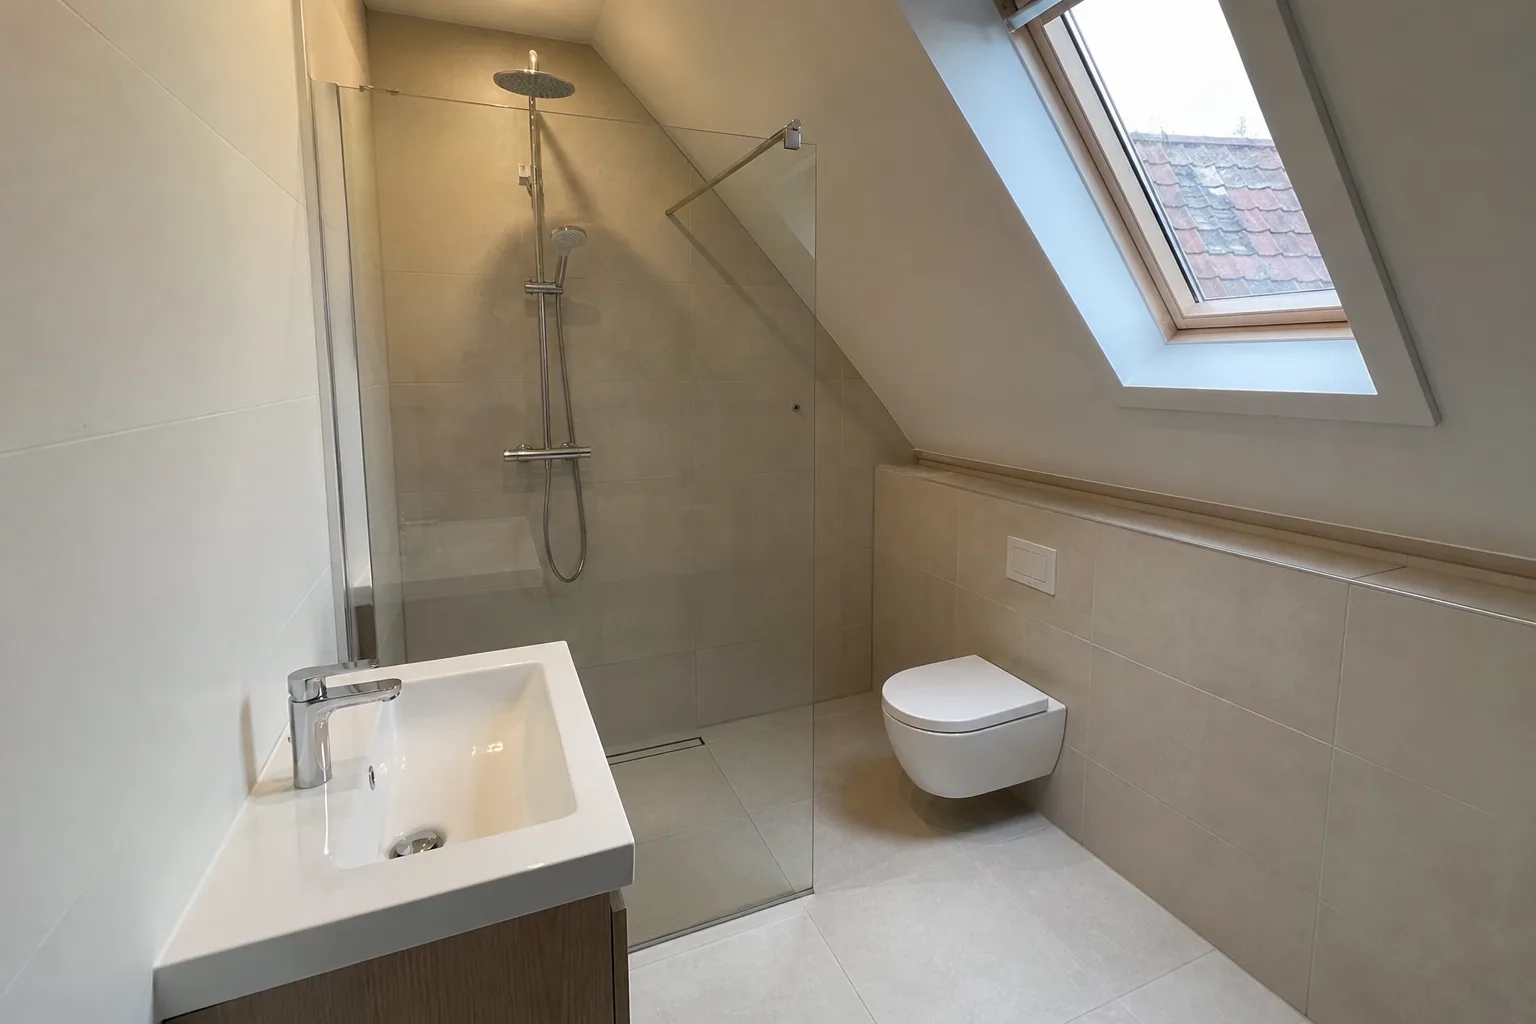
- Tiles and grout are not waterproof. The membrane underneath stops the water.
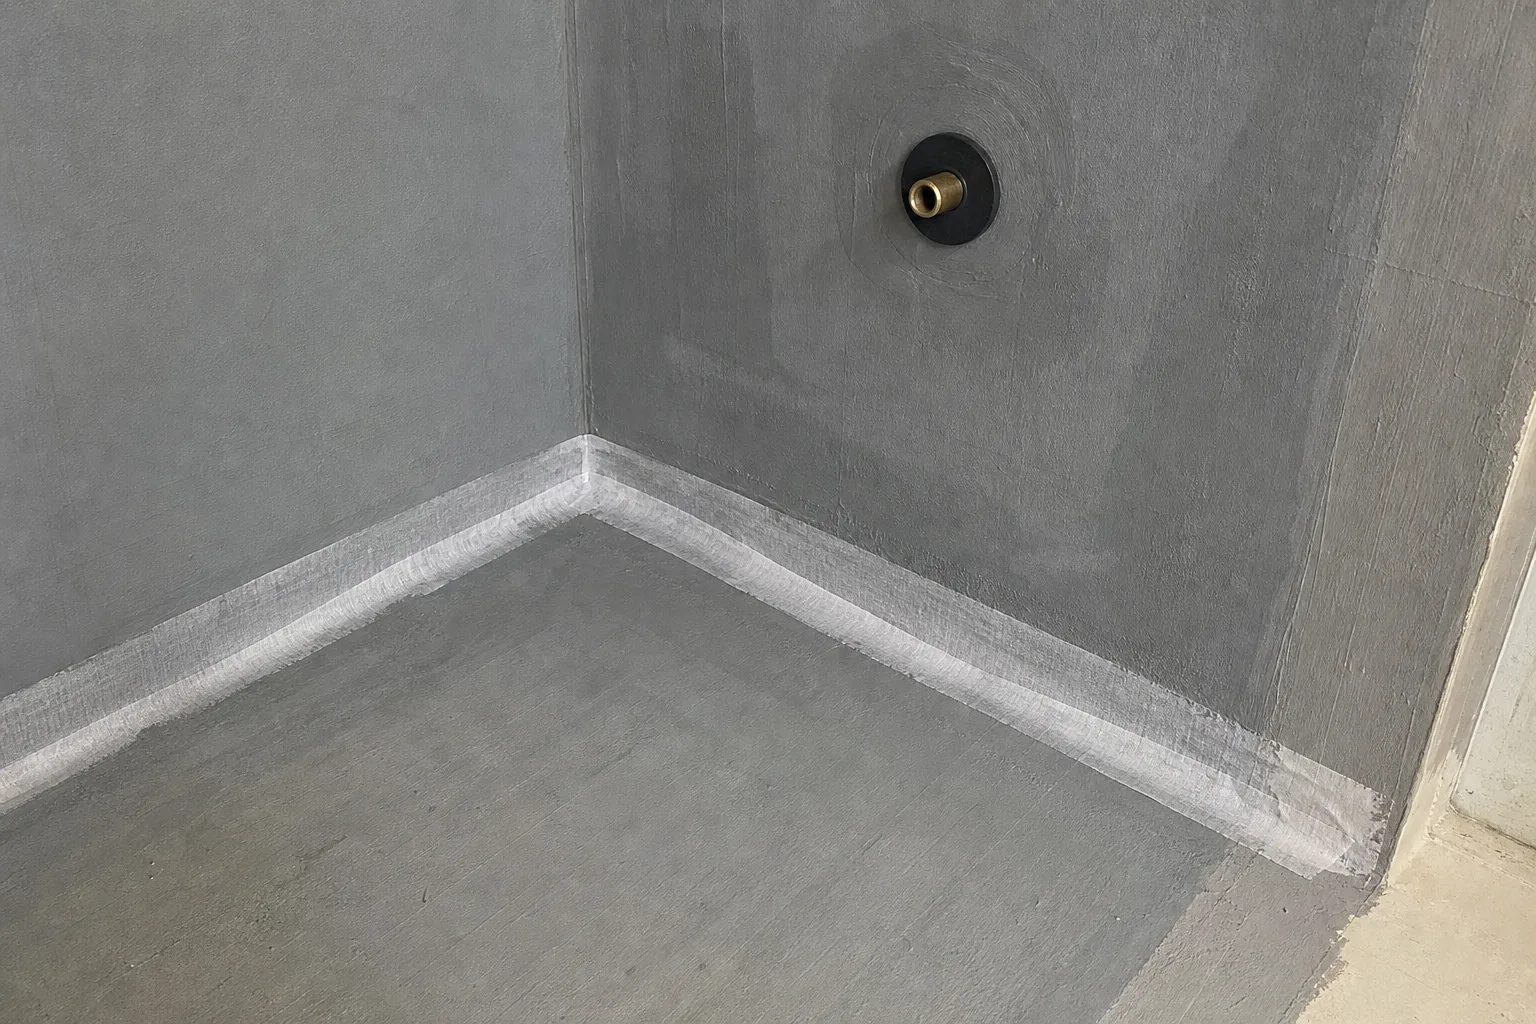
- Sealing tape goes into every corner where wall meets wall or wall meets floor.
- Pipe penetrations and the drain get collars that are bonded into the membrane.
- In an existing Dutch bathroom, walls up to 1 m and the whole floor must be water-repellent (Building Decree, article 3.65). In the shower, going above the shower head is sensible.
- A silicone joint is maintenance, not waterproofing.
Why tiles are not enough
A glazed tile lets through very little water itself. But between the tiles are joints, and cement-based grout absorbs water. With every shower a little moisture soaks through the grout into the adhesive and the wall behind. On plasterboard, a timber wall or old plaster, that goes wrong over time. The base softens, tiles come loose and the water finds its way down.
Corners also move. A timber floor flexes a fraction when you stand on it. A wall expands and shrinks with temperature. A rigid grout in a corner will crack, however well it is applied. That is why there is a layer under the tiles that keeps water out and can move slightly with the building.
Types of waterproofing
There are three common ways to waterproof a bathroom. Which suits you best depends on the base and the room. The key is to stay within one system: membrane, sealing tape, collars and tile adhesive from the same manufacturer, or explicitly approved to work together.
We usually work with a liquid membrane. It follows any shape, including sloping attic walls and niches. We use sheet membranes and ready-made boards where they are quicker or better, for example when a wall has to be rebuilt anyway.
| System | How it works | Suitable for |
|---|---|---|
| Liquid membrane | Two coats brushed or rolled, tape embedded in the first coat | Almost any base, including slopes and niches |
| Sheet membrane | Sheets bonded with overlaps, seams taped | Large flat walls and floors, also as an uncoupling layer |
| Waterproof boards | Coated boards, seams and screws sealed | New false walls, bath and shower surrounds |
Sealing tape: corners first
Sealing tape is a stretchy band with fleece on both sides. It goes into every corner where two surfaces meet: wall to wall and wall to floor. The tape bridges the joint and can move if the corner shifts slightly, so a hairline crack in the corner does not break through the membrane.
We lay the tape into the first coat of liquid membrane, press the fleece down firmly and apply the second coat over it. For inside and outside corners there are pre-formed corner pieces, so there are no folds or gaps. Where two lengths meet, we overlap them generously.
Tip from the trade: Ask your tiler for photos of the taped corners and collars before tiling starts. After that, nobody can see them.
Collars around pipes and the drain
Every place where something passes through the membrane is a potential leak. Think of the water pipe to the shower mixer, the connection of a concealed valve, the basin waste and the shower drain. Each penetration gets a collar: a rubber or fleece piece with an opening that fits tightly around the pipe. It is embedded in the membrane.
The shower drain needs extra care. A good drain has a flange or a factory-fitted fleece that is bonded into the membrane. Water that soaks through the grout then runs over the membrane into the drain, not underneath it.
Ze hebben in 1 week tijd de hele beneden verdieping stucwerk gerepareerd, geschilderd en gesausd tot volle tevredenheid. Netjes en accuraat gewerkt, flexibel geweest en vakwerk afgeleverd. Dus top.
Which zones to waterproof
According to IPLO's guidance on moisture protection (in Dutch), in a bathroom in an existing home the walls, frames and doors up to 1 m and the whole floor must be water-repellent. The legal text is article 3.65 of the Besluit bouwwerken leefomgeving, the Dutch Building Decree. That is a minimum.
In practice it is wise to go further. In the shower the membrane runs up the walls past the shower head, and across the floor of the whole shower zone and well beyond. With a walk-in shower without a step, the entire bathroom floor should be waterproofed.
- Shower: whole floor and walls up past the shower head.
- Walk-in shower: the entire bathroom floor, with the drain bonded in.
- Bath: wall above the bath up past the hand shower, plus the corner between bath and wall.
- Basin: the splash zone behind it.
- Rest of the floor: fully, with tape along every wall.
The base and drying time
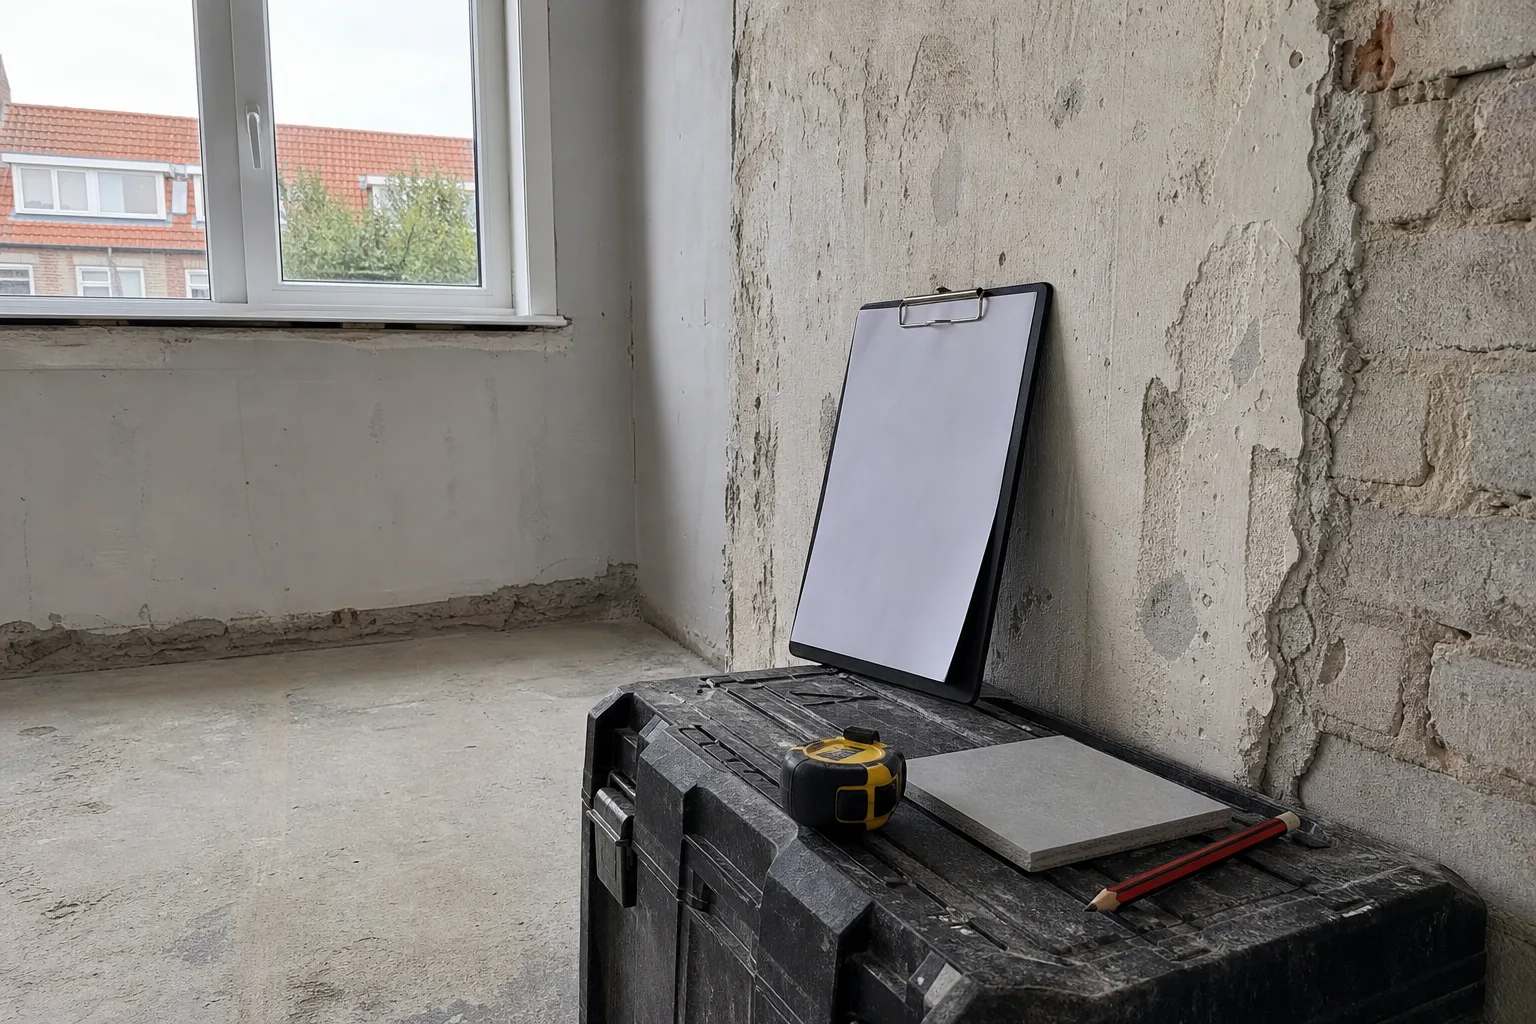
A membrane only bonds to a dry, flat and dust-free base. A new screed must first dry out enough. We remove loose plaster and fill holes and cracks. Then comes a primer so the membrane bonds properly.
Each coat of liquid membrane must dry before the next goes on, and the final coat must cure before tile adhesive is applied. How long that takes depends on the product, the thickness, the temperature and the humidity. We follow the manufacturer's instructions. Saving a day by tiling too early can cost years of service life.
Where it goes wrong in practice
When we open up leaking bathrooms, we see the same causes again and again. It is almost never the tile itself. It is in the details that become invisible once the tiles are on.
- No tape in the corners, just membrane brushed over the joint.
- A pipe through the wall without a collar.
- A shower drain without a flange or fleece, so water runs underneath.
- Membrane only in the shower corner, while the floor next to it gets wet too.
- Coats that are too thin, or one coat where the system requires two.
- Tiles with hollow spots underneath, where water collects.
Silicone joints, microcement and maintenance
A silicone joint in the shower corner or along the bath is not waterproofing. It is a finish that stops most water and absorbs movement, but silicone ages and can go mouldy. Replace it when it comes loose or turns black. Do that in time and the membrane underneath stays drier for longer.
Microcement comes with its own system, with a waterproof base coat and a protective top coat, and the corners are reinforced there too. Read more in bathroom renovation step by step and walk-in shower, or see our tiling service. Living in an apartment? Also read renovating a bathroom in an owners' association apartment.
Frequently asked questions
Is waterproofing under tiles a legal requirement?
The Dutch Building Decree requires water-repellent walls up to 1 m and a water-repellent floor in an existing bathroom. It does not say how. In practice a membrane under the tiles is the reliable way, especially in the shower.
What is sealing tape?
A stretchy band with fleece that is embedded in the membrane in the corners. It bridges the joint and moves with it, so a hairline crack in the corner does not leak.
Can I waterproof over old tiles?
Sometimes, if the old tiles are firmly fixed and the system is suitable. Often it is better to remove them, because then you can see what is behind.
How do I know the waterproofing was done properly?
Ask for photos of the corners, collars and drain before tiling. A good contractor records this as a check point.
Does a new silicone joint stop a leak?
Replacing a failed joint helps, but silicone is not waterproofing. If water is already getting through the wall or floor, the problem is deeper.
Renovation and finishing work from Roelofarendsveen: plastering, bathrooms, microcement, extensions, insulation, floors, electrics and plumbing. One point of contact from quote to completion. Questions? Call or WhatsApp +31 6 87 61 60 78.
Sources
- Moisture protection in existing buildings (IPLO, Dutch)
- Besluit bouwwerken leefomgeving, Dutch Building Decree (wetten.overheid.nl)
Rules change. Always check your own address with the Permit Check (Vergunningcheck) in the Omgevingsloket or with your municipality.